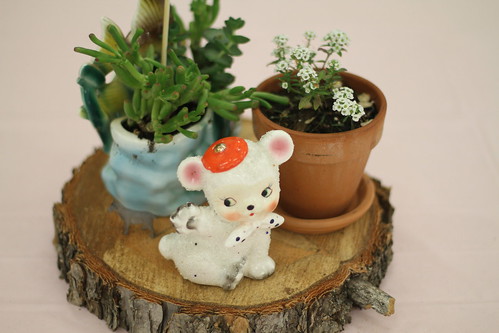
This weekend my friend Jennifer, a professional freelance gardner & general crafty-person, and I made this adorable Faux Bois (that's fancy talk for "fake wood") Planter. It was so so so easy and the finished product had us beaming with pride.
Here's how we did it:
First, gather your supplies.
You're going to need:
- an old plastic planter (ours had a big crack in it that we fixed with duct tape, trash to treasure!)
- some Fall plants
- potting soil
- white and brown acrylic paint
- a few old paint brushes: 4" brush, 2" brush and 2 detail brushes
- acrylic sealer
- black spray paint
- twigs gathered from the yard
- scrub brush
- Jennifer to make your flowers beautiful
Step 1: The first thing you'll want to do is give your pot a good scrubbin' using an old brush and some water.
Step 2: When the pot is dry, begin painting the entire surface with white acrylic paint (white house paint will also work) using your 4" brush. I used a heavy body acrylic in a horizontal motion to mimic the rings of bark on an aspen tree. This layer should leave some of the original pot color showing through for depth, it doesn't need to be solid white. This also does not need to be perfect- do however much or however little feels right to you.
Once you've painted the entire surface of the pot white, let the paint completely dry (mine took about an hour) before the next step: adding the details.
Step 3: To give the pot the appearance of being wood, we obviously need rings on our tree. To achieve this look take your 2" brush, dip it in a heavy body brown acrylic paint (or any color that suits you) and then on your work surface, swipe the brush back and forth until the bulk of the paint is removed and very little remains on the brush itself.
Then, with that barely there paint on your brush, begin lightly brushing rings on to your pot. Start with less and then keep adding them until you're happy. At this point, you'll probably think you're doing it wrong and it'll never look right- at least I did. Don't worry, it's really easy, it'll all come together in the end.
Right after you finish painting the brown, dip a 1" brush in water and begin blending the brown paint into the white with soft back-and-forth motions. The brown will soften and some of the color will mix making the base color less white.
Step 4: Once you're comfortable with your bark, add a few eyes to make the wood more realistic. I was nervous before starting the eyes but they were surprisingly simple. Using a small round brush i created the top of the eye, like you're drawing a small hill and filled it in lightly with brown paint. Then, using the same 1" decorative brush from before, I blended the paint and amd that's it- an eye!
The finishing detail is to add some darker lines with your small brush here and there around the pot to give it wear and make it seem more 3D, like the squiggles below.
Optional: I also chose to throw some brown paint inside the brim of the pot in case the flowers don't cover all of the terra cotta color.
Step 5: The final step for painting the pot is to seal the paint with an acrylic sealer so that your paint doesn't bubble up or detach from the pot after it rains. I used a matte finish sealer by Plaid.
Step 6: Now for the planting! Grab Jennifer from your supply list and let her at it. My friend
Jennifer is a natural at container gardening and actually gets paid to make people's porches beautiful so I was
lucky to have her come show me what to do with the minimal plants I bought for this project.

The first thing she did was dump some rocks in the bottom of the planter for drainage. Then, when she was adding soil, we noticed the crack in the side of the planter was bigger than we thought, no problem. We duct taped the hole from the inside and were all set.
Next, start adding your plants. Jennifer told me that when you're transplanting something you should always tear the roots a little at the bottom to encourage rooting in their new environment.
She loosley arranged the plants on top of the soil to make sure she had the right placement and when she did we buried them in the soil and added more soil to the top.
It looked fabulous...but Jennifer thought something was missing....
She gathered some twigs from the yard and asked if I had any black spray paint, luckily I had the butt-end of a can of black spray paint on hand and we sprayed the twigs she had gathered black and then put one of them in the planter...
...and Viola!!
NOW we're done! The black twig added the perfect creepy Halloween feel to my autumn planter!!

Now all that was left to do was put spiderwebs on every single thing on my porch and call it a day!

 Happy Halloween!


