Look! Up in the sky! It's a bird...it's a plane...no!...it's SUPER MIA!!!
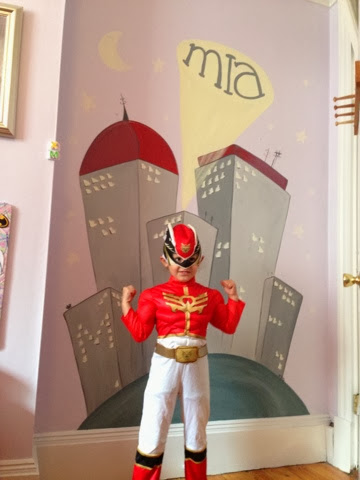
A couple of weekends ago I did this super hero city on the wall of one of Cambridge's Finest SuperHero-esses: Miss Mia the Magnificent! Little Miss Mia is quite the superhero aficionado and loves playing dress up in her many costumes BUT until now she had no where to showcase her beautiful outfits. That has all changed now thanks to this wonderful idea from her awesome Mom. (Good job Mom!)
Now Mia has her very own city to save from peril including her own spotlight with her name in it and in the lower left building a capital "M" in lights to make it just a little more special.
Thanks for keeping our city safe from bad guys Mia. The world is a better place with your cute little face in it.
Coupla new guys.
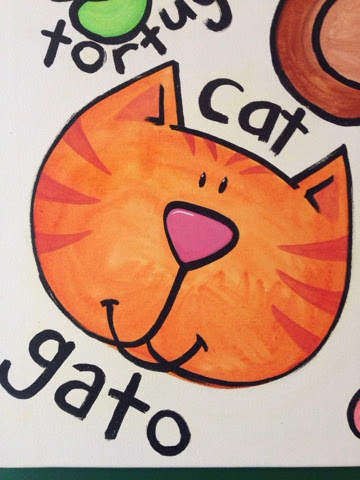
I just painted these guys for some sweet little girls.
Maeve's favorite colors are green & pink. Mina's are grey and hot pink. And you'll never guess their favorite animals!...
You can see them and ORDER YOUR OWN in my Etsy shop!
I joined a sorority!
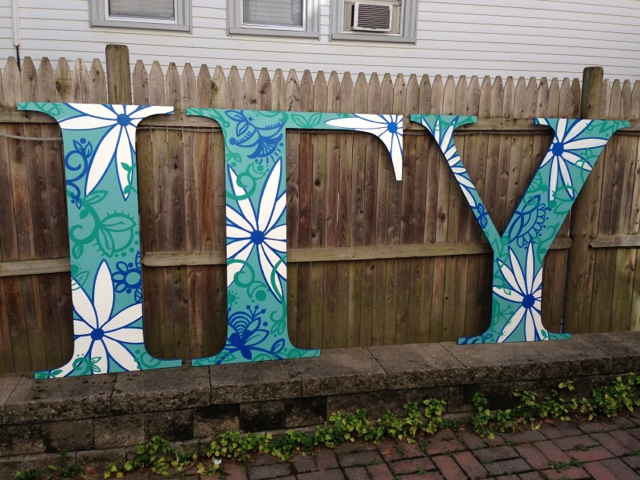 Ok, maybe I didn't actually join a sorority BUT I did paint some FOUR FOOT TALL lawn letters for one! The super nice ladies of Ioma Gamma Upsilon at U-Mass Amherst contacted me to customize their new letters and I couldn't wait. It's probably the most unique (read: weirdest) request I've had to date so I was obviously all about it.
Ioma Gamma Upsilon's colors are ultramarine & green and they wanted an all-over floral print on the letters. I created a custom light teal color for the background and then did a simple white, blue & green design over the entire surface. I also sealed the letters with a matte clear coat so that they wouldn't have a glare during photo shoots but would be resistant to beer-bong mishaps. (Or is that just in fraternities? ...Either way.)
Now, before you tell me how great my all-over design is, because I can tell you're dying to...I have a confession...this is actually my best-friend Liz's design. It's what happens when she's distracted and doodling. These awesome little flowers and swirls just pour out of her pen...and then I snatch them up and make them life size on huge letters. That's what friends are for, right?? Thanks Liz!!
Sadie's all ready to pledge. Get this girl a paddle!
Custom Artwork with a Paisley Print
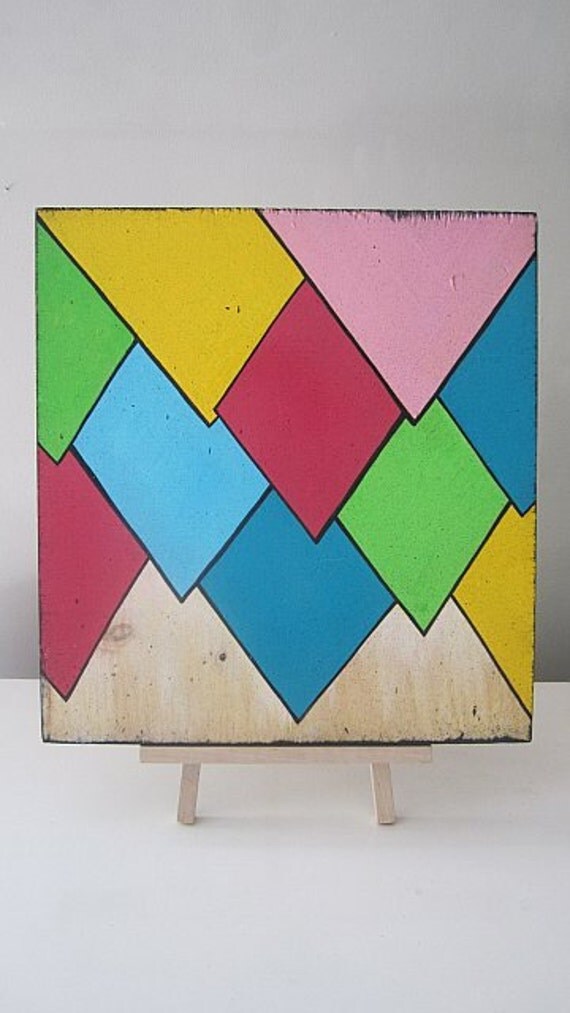
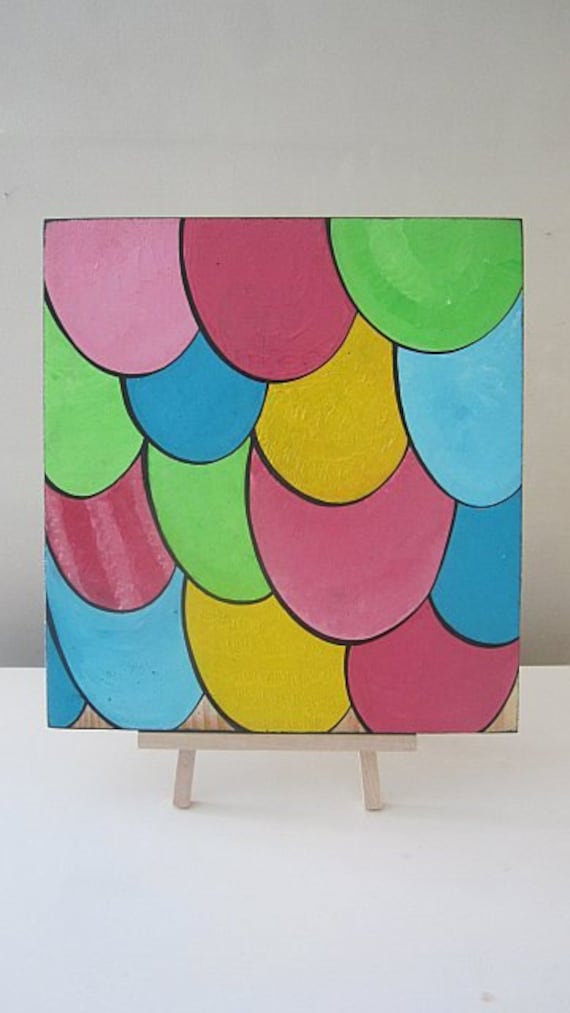
These paisley paintings were done for a little lady's room inspired by the lampshade her Mom bought at PBK from the Tera Paisley Collection.
All of the designs mimic the style of the fabric but are completely original to match the overall color-scheme of bright pinks, purples, greens and blues in her room.
All of the designs mimic the style of the fabric but are completely original to match the overall color-scheme of bright pinks, purples, greens and blues in her room.
Because there is no discernible top or bottom, left or right, they can be hung in any order and any direction. They can be hung separately, one on each wall, in a row, in a grid, in a circle, on the ceiling...whatever her little heart desires.
This one kind of looks like some sort of weird amoeba. I'm ok with that.
Contact me if you'd like some custom paintings for your own little one. Thanks for stopping by!
Sophie's Safari
24"x36" wall size custom canvas painting for Sophie.

Including her name, date-of-birth and her favorite little Caterpillar.
I'm always accepting commissions for custom artwork and quotes are always free.
CONTACT ME if you have any questions or want a painting of your own!
Getting Ready for Sadie: the Bedding
Getting the nursery ready for our upcoming bundle of squish has been really fun. It's still weird to think that I'm going to be the Mom and that this is all for my own daughter but as our due date approaches (Jan. 1st!) it's becoming more and more real.
 Part of it feeling more real is that my Mom completed the crib set that she made for us for the baby shower and it came out cuter than I could have ever imagined! We got the fabric from my friend Aurora's store, Fabric Bliss, which is located in Denver but they have a very easy-to-navigate online shopping feature. I emailed Aurora and told her that I was looking for something "dainty but not girly, that coordinates but doesn't match, has a vintage feel and it can't be pink!" Immediately she wrote back and suggested the Seaside collection from October Afternoon.
 And it's beyond perfect!!
All of the fabrics coordinate with each other but don't necessarily "match", the prints are dainty enough for a baby girl but not drowned in pink-on-pink and they have an adorably vintage feel that goes perfectly with the vintage feel we are going for in the nursery. 
My Mom also made this precious mermaid-tailed receiving blanket (her own design) and I can't get enough of it! Thanks Mom!! You're the greatest! 
Picture Frame for Sofia
New picture frame for Sofia. Contact me for one of your own. Makes a great Christmas present.
Happy Critters Custom Playground Painting
This custom 24"x36" painting was made just for Vivian who turned 2 last weekend to bring more color to her "not too pinky-girly" nursery and came to me my favorite way, through word of mouth advertising.
Included in the painting are Vivan's favorite stuffed animals, herself and of course, a girl's best friend, her dog, Milo.
Included in the painting are Vivan's favorite stuffed animals, herself and of course, a girl's best friend, her dog, Milo.
Vivan wasn't home to see the painting in person when I dropped it off but luckily her Mom shot me this adorable play-by-play of when she first saw it:
"I wanted to let you know about Vivian's reaction when she first saw your painting. She saw it as soon as she walked into her room yesterday afternoon, and did a total double-take. Then she pointed at Dolly in the picture and said her name, and went to grab the actual Dolly from her toy bin so she could hold her just like she is in the picture. Then she pointed at each of her "friends" in the picture and named them, and also pointed out Milo. I asked her if she liked the picture, and she said, "Yesssss!""
Reactions like that make this job even sweeter, if that's possible.
And, as if that weren't enough, piggy-backed on top of all that sweetness was this painting also done for Vivian commissioned by the original word-of-mouth advertiser, the customer I painted Ryan's Safari for.
 Little V is a second generation Chinese-American, this is her birth animal, the tiger and her name written in Chinese characters. It was painted to coordinate-with but not necessarily match the playground painting in order to keep the room from looking too "theme-y" (which is definitely a word) and topped off with a distressed white frame.
 ...don't be a stranger, ya'hear?
Giving in to Trends: Ombre Paint Chip Art
I spent a good portion of my teenage years rejecting all things trendy and popular. That habit has stuck with me now into my late 20's (ok, early 30's) whenever I see something adorable on another craft blog and/or everybody's favorite website, Pinterest. (See, I'm even trying to pretend like I don't totally love Pinterest.) Instead of happily jumping on the bandwagon and admitting that something is adorable, I dog ear it and come back later, trying not to make eye contact with it and acting like it's not so great.
Today I decided that it was time for me to make eye contact with paint chip art and I'm glad I did because it was a fun and easy project (not to mention practically free!) that only took about an hour to finish.
Here's how I did it:
First, go to your favorite paint store and grab some paint chip samples from the big wall of colors (or use different colored construction paper). I actually felt a little bad about taking so many so I asked the guy behind the counter if it was ok. He shrugged with complete indifference and I was guilt-free.
Next, find a small circular object to outline onto the paint chips to utilize as much of the colored area as possible- I used a small roll of tape- and cut out your circles.
Experiment with the layout of your circles until you have 'em just how you want 'em.
Remove the mat and backing from the frame and outline the opening of the mat directly onto the cardboard backing.
Now, starting and the bottom and beginning with the lightest layer, glue the circles to the cardboard using a glue stick. The second layer should overlap the first slightly and the circles should become progressively darker towards the top of the cardboard.
You only have to fill in the area inside of the outline we made but be sure to overlap the edges so that none of the backing shows.
To add a letter, take another paint chip in a coordinating color and draw your letter backwards on the BACKSIDE of it.
Cut out the letter, glue it into place wherever your little heart desires and presto- you're an artist.
I decided to let some of the lettering from the names of the paint show on my final product. It gives it extra home-made-i-ness.
Now you have a personalized gift to give as a new baby or shower present and no-one has to know about the ridiculous internal struggle that it took to make it.
Happy Friday!
Safari Painting for Baby Ryan
 This huge 36" x 24" painting was done for Ryan whose Mom wanted a bright, colorful, happy Safari scene. Ryan's walls are painted a neutral color so the sides of this painting were done in alternating dark and light green stripes to really make it stand off the wall. The happy characters are intentionally kept very simple to keep the painting from being overwhelming to baby.
Ryan's date-of-birth was snuck into the painting on a leaf in the zebra's mouth and Ryan's loving Mother is represented by the giraffe who's giving her son's name a good snuggle.
From rough sketch to final product:
This painting was designed to grow with Baby Ryan- being young enough to be appropriate for a nursery and also bright enough to be able to transition easily into a toddler's room. Email me if you'd like a painting made for your little one or if you have questions about price, sizing or anything else. All questions are welcome.
Adorable 3D Lollipop Valetine Tutorial
I made an executive decision earlier this week- I am going to hold off doing Valentine's related crafts and having Valentine's related freak-outs over crafts until this Saturday (the official 1-month countdown to V-Day). That was until Karen & Ella (not their first time here) sent me this adorable DIY Valentine that they made to give to Ella's classmates and I realized that everyone else is already elbow-deep in Conversational Hearts and I'm still putting Christmas away.
So now I've veto'd my own executive decision and decided to grab cupid by the horns and get my Valentine's on. Starting with this:
Karen & Ella's
So here is how you make the super cute DIY Valentine's Cay Cards. First find a super cute kid, most parents think thier kid is the cutest, if so, then go with them. If not, I have one you can borrow. Next, get your camera ready. Have your little cutie stand up against a wall and extend their arm toward the camera while making a fist. Snap away. Try to stay focused on the face. You would rather the hand slightly blurred and not the face. Download your pic to your computer and then upload to picnik.com. Here is where the fun takes place. Add borders, hearts, etc. I kept it simple. I wrote "Happy Valentine's Day" toward the top and "your friend," toward the bottom. I left out my daughters name because I let her add it with a sharpie to make it more personal. Send the pics to your local CVS. I bought a bag of dum dums. Slice a tiny slit over the fist and insert you pop. Place a piece of tape on the back side. You can add the adhesive card stock to the back to firm up the card but I left it as is to save on the cost. FYI- I also tried blow pops but they were too big. Also worth noting, when adding text to you pic on picnik-don't add to very top or sides. My sisters first round cut off part of the letters, I made some adjustments and lowered the text and they came out perfect.
Here is where I first saw this fun idea.
So cute! Thanks for sharing Karen!!
So now I've veto'd my own executive decision and decided to grab cupid by the horns and get my Valentine's on. Starting with this:
Karen & Ella's
Adorable 3D Lollipop Valentine's Card
From Karen:So here is how you make the super cute DIY Valentine's Cay Cards. First find a super cute kid, most parents think thier kid is the cutest, if so, then go with them. If not, I have one you can borrow. Next, get your camera ready. Have your little cutie stand up against a wall and extend their arm toward the camera while making a fist. Snap away. Try to stay focused on the face. You would rather the hand slightly blurred and not the face. Download your pic to your computer and then upload to picnik.com. Here is where the fun takes place. Add borders, hearts, etc. I kept it simple. I wrote "Happy Valentine's Day" toward the top and "your friend," toward the bottom. I left out my daughters name because I let her add it with a sharpie to make it more personal. Send the pics to your local CVS. I bought a bag of dum dums. Slice a tiny slit over the fist and insert you pop. Place a piece of tape on the back side. You can add the adhesive card stock to the back to firm up the card but I left it as is to save on the cost. FYI- I also tried blow pops but they were too big. Also worth noting, when adding text to you pic on picnik-don't add to very top or sides. My sisters first round cut off part of the letters, I made some adjustments and lowered the text and they came out perfect.
Here is where I first saw this fun idea.
So cute! Thanks for sharing Karen!!
The Name Frame Game
 Which is more than I can say for myself because I can't wait for the girls to see them. Their Nonnie (aka Gramma) assured me that Faith & Layla are going to LOVE their frames and now, though I've never even met them, I am so excited for them to open their gifts!
Hey Vicky! personalized picture frame
E is for Ella
Ella's Mom just re-did her room for her and ordered these letters to complete the transformation. Her room is now a bright mint green with a coordinating green and pink bedspread and I'm told these letters look great hung on her wall.
Each letter is painted on a big ol' 10"x10" square canvas which means that when it's hung on the wall 2" apart, this piece takes up a full four feet of wall space. This type of painting is an excellent option for renters who can't paint their walls but are looking for a big piece of artwork for a focal wall. They take up a lot of space without being too busy.
As always, special requests like this are welcome and encouraged. Email me if you have questions or for pricing info. Makes a great Christmas present!
Eliza's Name Plate
Name plate and frame painted for Little Eliza's animal themed nursery. Eliza's God-Mother ordered this 2-piece set to match the walls of her first God-Daughter's kiwi green and purple room.
Kickstand frame ($25) painted in a custom shade of purple created just for Eliza with the cutest zebra peeking out from the left hand corner. 
Hand painted wooden name plate sign ($45) also painted in coordinating shades of custom purple and decorated with a happy giraffe and a little girl monkey with a huge grin. This name plate was made using 2 pieces of wood painted and glued together to give the artwork a little more pizzaz. Which is what every little girl's room needs, isn't it?
Customizable sets like these make wonderful birthday, baby shower and of course, Christmas gifts and for only $70 (price dependant on size and amount of detail) you really can't go wrong. Order yours now!!
***Accepting Christmas orders through Dec. 5th this year due to holiday travel mid-month.***
NEW STUFF on Etsy
Being a Good Hostess: Hurricane Edition
In preparation for our upcoming Category 3 (already downgraded to 2 and on her way to plain ol' "Tropical Storm" status) visitor this weekend I thought I'd gather some tips on how to be a good hurricane hostess.
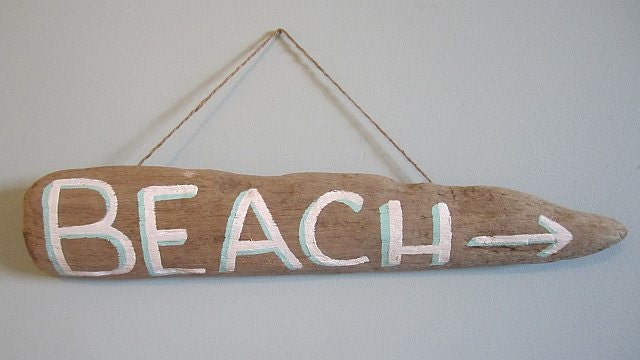
When entertaining out-of-town visitors it's always nice to label items and make directional signs to avoid confusion. Above is a piece of drift wood I painted to show Irene how to get to the beach to help her find her way.
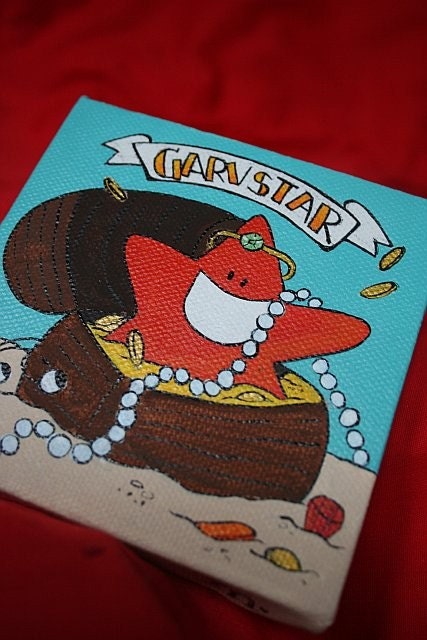
It's important when hosting natural disasters to have plenty of activities for your guests. Below is a pail I've set out that Irene can throw through my window and some treasure she might also want to roll around in while she's there.
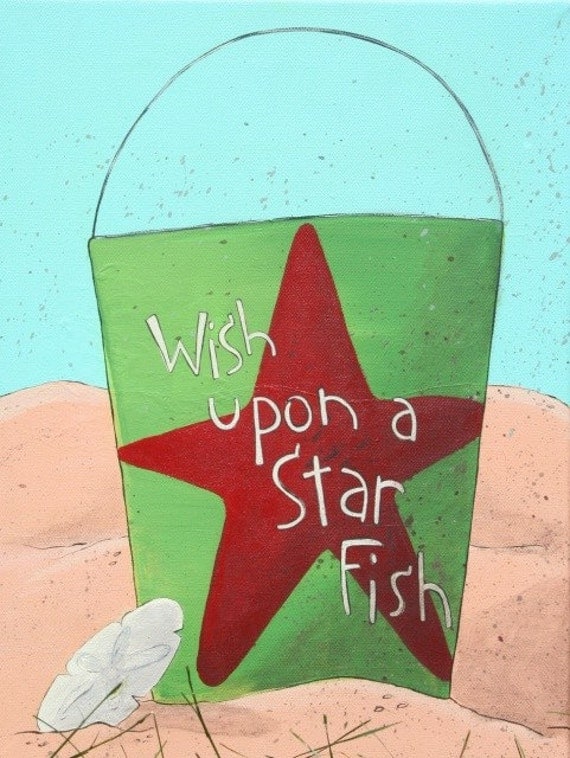
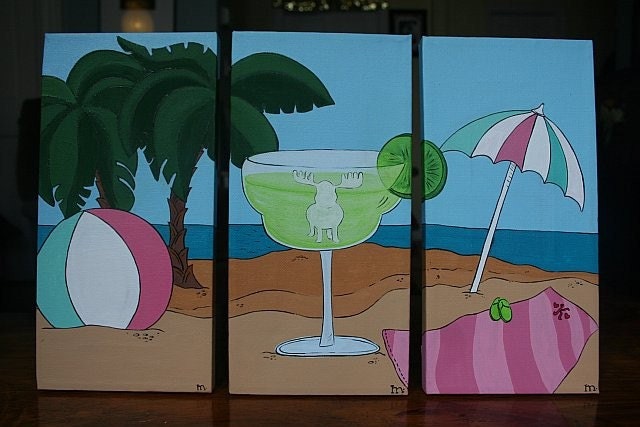
As anyone who's ever been to a gathering knows, refreshments are key! Here I've made our guest a margarita to enjoy while on her rampage, a girl does get thirsty! And I've laid out guest towels and an umbrella to hurl across our great state.
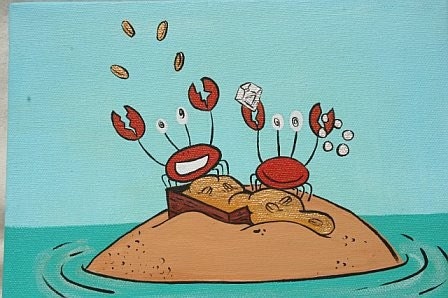
With any social gathering it is important to keep in mind who you're inviting to ensure an easy going atmosphere and great conversation. My guest list for this party will include the Crab Brothers, for their shared interested in rolling around in treasure,
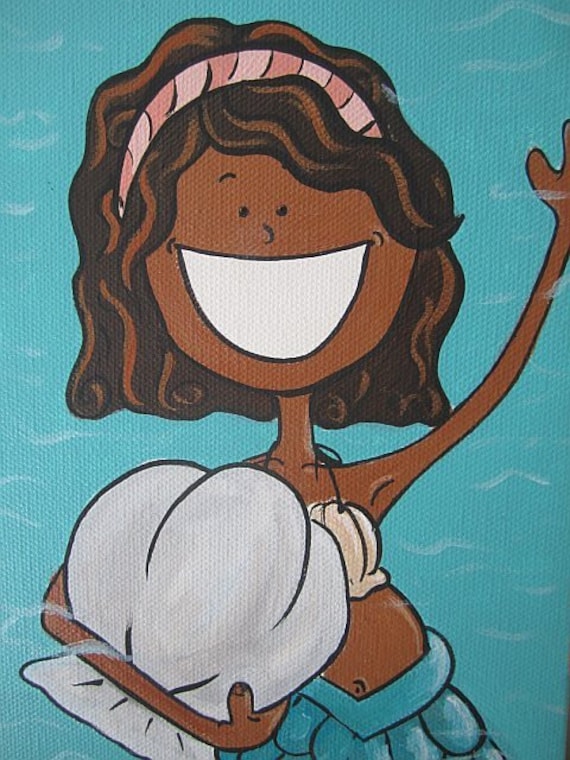
and some mermaids from down the shore who are reminding me of another tip: if you are an invited guest it is always a good idea to bring a gift to your host. Sandra has decided to bring a giant clam, always a hit!, and Kendra brought a Starfish. What's nice about these gifts is that they're local, unassuming and they fit the theme. Great job ladies!
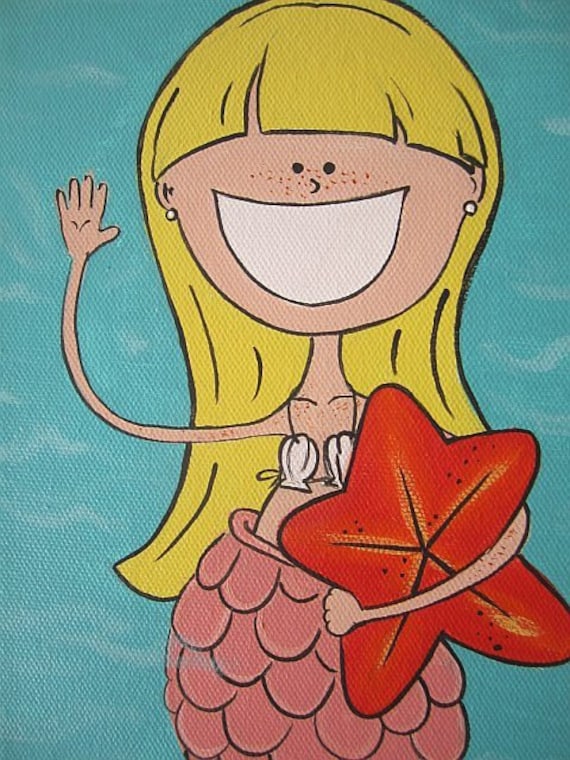
Welcome Irene, may your trip be short and sweet and I really hope you don't throw a pail through my window. Happy Hurricane-ing, stay safe!
The Ol' Switch-er-oo.
These are some light switch covers I painted for a brother and sister combo.
His name is Dylan, he likes baseball.
Her's is Madi, she is quite convinced that she is a princess.
These are painted with acrylic paint and sealed with acrylic sealant. Able to withstand years of abuse from little sticky fingers.
ONE HUNDRED SALES!!!
Cue the confetti...I made my hundredth sale on Etsy today!
**allow time for confetti to settle**
I am pleased as punch with myself...not unlike my 100th sale himself, below:
It's fitting that it was my giraffe character to hit this mile
marker with me as he was the first character I ever
got paid to paint on a wall in 2008.
Since then, he's shown up on other walls and even added a Missus:Starting in 2008...

And ending in 2011!
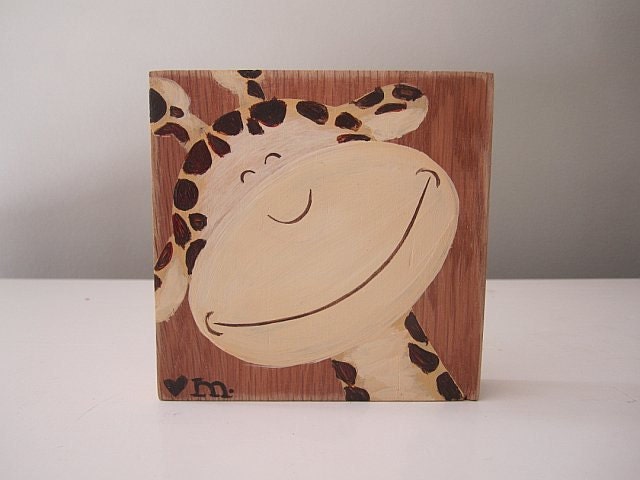

Thank you to everybody who's ever helped me, critiqued me, taught me or bought from me.
You like me...you really like me!
