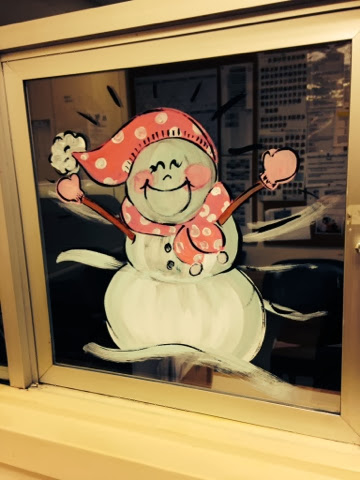
The Snowman Family window painting
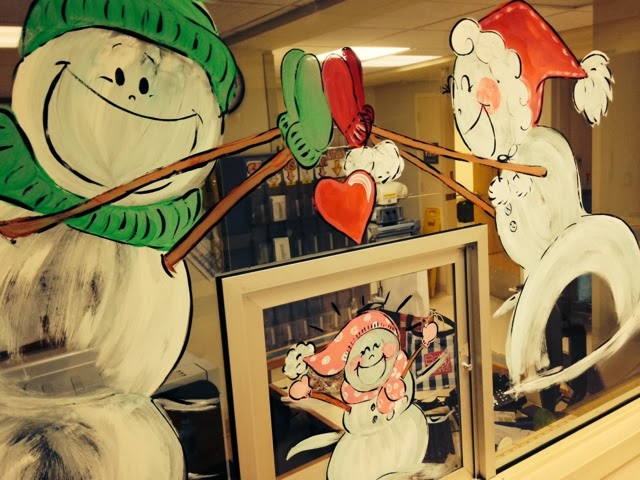
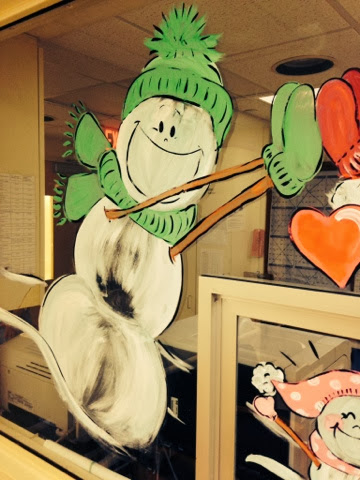
Winter window in the EU at Beth Israel:
a snowman family celebrating the upcoming Winter Solstice!

We're celebrating the winter solstice in our house too
because it's our baby snowgirl's first birthday on the 21st.
I can't believe it's already been a year and at the same time that it's ONLY been a year. What a whirlwind!
Happy Birthday little snowgirl! Mama loves you!!
First Christmas Window of the Season: Monkey Claus & the Missus
I did my first Christmas window of the Season yesterday at Two Little Monkeys in Union Square, Somerville, MA!!
The store is at the intersection of Somerville Ave & Bow Street. Go check it out in person and get all Christmas-y.
Here's a link to the Christmas countdown clock in case you need to check it every 3-4 minutes like I do:
36 days 'til Santa comes!!!
It's beginning to look a lot like Christmas...CRAFTING!
It snowed the other morning.
For me that means it's Christmas time.
So even though it only snowed for 3 minutes and it was mixed with rain and none of it stuck to the ground...it still snowed. And now it's Christmas time!!!
More specifically, it's Christmas CRAFTING time!! Here are some of my favorite Christmas crafts from years past to keep you busy while I stretch out my glitter coating, wreath making, snowflake cutting muscles. It's important to ease into these things lest you pull something and have to sit out the rest of the season.
I'd love to see any projects you make following my tutorials or any projects you've made on your own!
Merry Christmas Crafting season!!
Sadie the Incredible Mermaid Girl: D.I.Y. Traveling Side Show Mermaid Baby Costume
This year was my baby girl's first halloween as a dress-up-able-human and it was imperative that she have the perfect first Halloween costume. I had originally had my heart set on her being the bearded lady in a side show but when she wouldn't leave the beard on I decided to take advantage of the fact that she's not walking yet and put her in some sort of a sack costume which also meant that I would need to decorate her stroller...which naturally led me to make her the Incredible Mermaid Girl in a traveling side show!
I created her stroller cover using foam core as the fish tank frame; blue fabric, glitter tulle & clear plastic Christmas ornaments for the water; and foam core for the signage & held it all together using a glue gun. I attached the whole contraption to the stroller (a Britax B-agile) using Velcro Garland Tie and all that was missing was a fat little mermaid to go inside.
Enter one fat little mermaid.
I have a tutorial on how to make the shell top for the costume here
& the mermaid tail tutorial is in the works!
I'd love to see pictures of your home-made Halloween costumes. Happy Be-lated Halloween!!
Christmas here we come!!!!!!!!!!!!!!!!!!
Look! Up in the sky! It's a bird...it's a plane...no!...it's SUPER MIA!!!
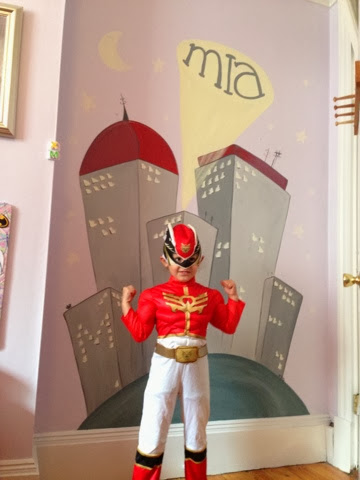
A couple of weekends ago I did this super hero city on the wall of one of Cambridge's Finest SuperHero-esses: Miss Mia the Magnificent! Little Miss Mia is quite the superhero aficionado and loves playing dress up in her many costumes BUT until now she had no where to showcase her beautiful outfits. That has all changed now thanks to this wonderful idea from her awesome Mom. (Good job Mom!)
Now Mia has her very own city to save from peril including her own spotlight with her name in it and in the lower left building a capital "M" in lights to make it just a little more special.
Thanks for keeping our city safe from bad guys Mia. The world is a better place with your cute little face in it.
Nothing to see here, just a pickle turkey in Jordans.
You know, just your standard turkey with pickles feathers rockin' Ray Bans
and some first edition Jordans.
This guy has gotten the Humpty Dance stuck in my head AAAAALLLLLLLLL
day long! (Much to my husband's chagrin)
"My nose is big, nu-uh, I'm not ashamed,
Big like a pickle, I'm still gettin' paid..."
Last Minute NO-SEW D.I.Y. Costume: Mini Hula Girl
Here's a last minute NO-SEW costume idea for you or your little one:
What you'll need
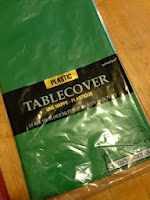
- a green plastic tablecloth
- scissors
- glue gun/glue sticks
- string/rope/twine
- fringe (optional)
- hawaiian flower for hair clip (optional)
- shirt or onesie
- felt for shells
- blue marker
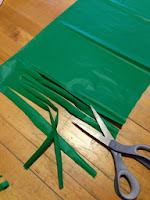
1. Open your tablecloth and cut it down to fit lengthwise around your waist and so that it's long enough to just graze the knee.
2. Keep it folded over and begin cutting it into fringe.
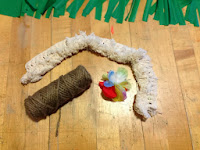
4. Hot glue your twine onto the skirt at the fold and let dry. Flip skirt over- hot glue the fringe to the front.
Your skirt is done.
Now for the shirt.
I'm using this off-white onesie for my daughter's costume. It has a design on it but it should be covered by the shells so don't worry about it. I'm also using left-over felt from her mermaid costume to be green and save a buck.
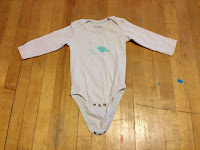

1. Lay the felt scraps over the design to figure out where the shells will go. Draw the shells directly onto the felt.
2. Cut out the shells and define them using any permanent marker. I like this blue but you can use any color.
3. Hot glue the shells onto the shirt.
Aaaaaand you're done!
Now slip the costume onto your little model and try desperately to get her to look at you.
Good luck and HAPPY HALLOWEEN!!!
Pickles are Spooky
Let's go Red Sox! {clap clap} {CLAPCLAPCLAP}
Tonight is the first game of the 2013 World Series featuring some of my close personal friends...
From Left to Right: Stephen Drew, Will Middlebrooks, Jackie Bradley, Mike Napoli & David Ross
They stopped by Beth Israel (aka my real job) after the marathon bombings to say thanks, be awesome & check out my window. Job well done.
LET'S GO RED SOX!!
{clap clap} {CLAPCLAPCLAP!}
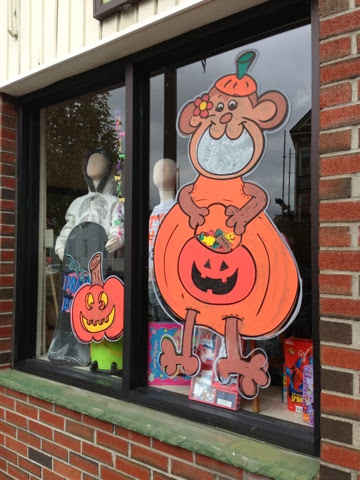
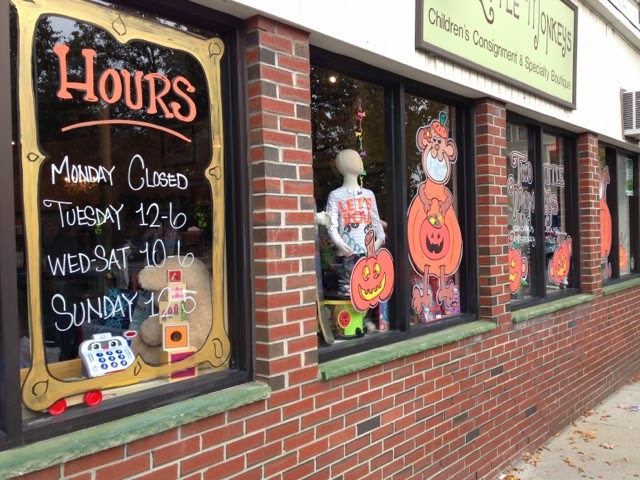
The Monkeys are ready for Halloween!!
Hay Girl! New Fall Window at River Dog!
Here is the new Fall window over at River Dog in Union Square- a furry little Scotty and his cat.

If this guy were a real dude I would be all over him! With his adorable emo hair swoop and fat feet...we'd be buddies. He's seen on the window keeping Dennis the sleeping shop cat company.
Dennis really has it made in the shade at River Dog and he's the reason there's some hay missing under the dog...that's his perch in there and he needs to be able to see out. It's important work he does over there.
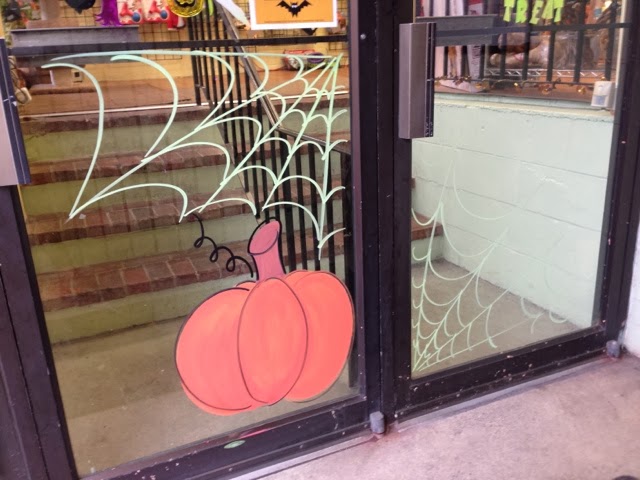
And because it's Halloween and I just couldn't resist...here's a pumpkin with some spiderwebs on the front door. Spooooooky!
Stop by River Dog on Oct. 20th to enter your dog in their costume contest!! More details on their facebook page. Good luck!!
It's here! It's here! It's FLUFF FEST!!
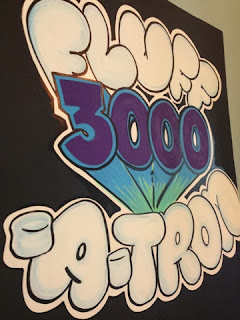
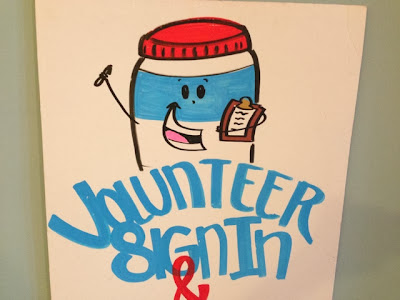
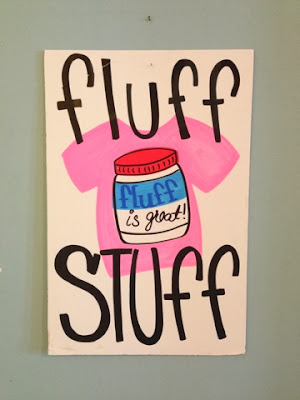
Today is Fluff Fest in Union Square and I am bursting at the seams with excitement! If you have been anywhere near me for the last month or so I've probably already told you that I am the Official 2013 Fluff Festival Sign Painter!! (A title I gave myself) I've been working dilligantly for weeks now trying to get all 23 signs and 5 trophies done and I can't wait to see them in action at the festival!
Fluff Fest was started in 2005 by Mimi Graney who is the Head Lady in Charge (also I title I created) over at Union Square Main Streets. She is in charge of all things Union-Square from craft shows to farmer's markets and everything in between. This is the 8th year of the Fluff Fest and they are anticipated THOUSANDS of attendees!!
...Which means of course that THOUSANDS of people are going to see my signs!!! I can't wait. It starts at 3pm and goes to 7:00 there are games and performances and a cooking contest and of course PRIZES!!
Maybe I'll see you there. I'll be the one taking selfies with all of the signs. :)
Happy Fluff Fest!!!
You can see pictures of all of my little babies at my gallery page: mandeemade.shutterfly.com and you can learn more about Fluff Fest at the Union Square Main Streets website.
Coupla new guys.
I just painted these guys for some sweet little girls.
Maeve's favorite colors are green & pink. Mina's are grey and hot pink. And you'll never guess their favorite animals!...
You can see them and ORDER YOUR OWN in my Etsy shop!
I joined a sorority!
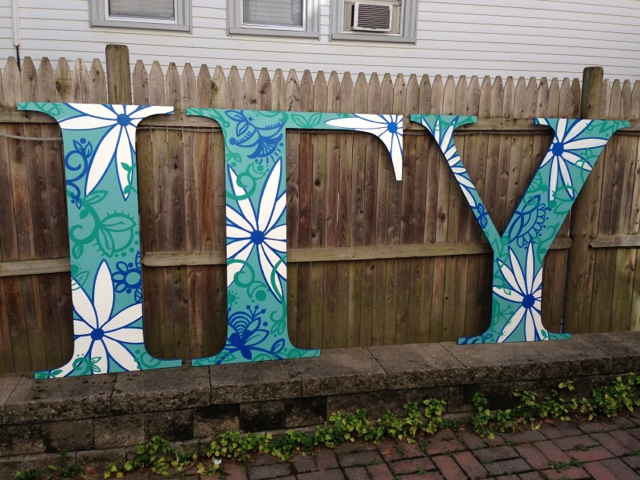 Ok, maybe I didn't actually join a sorority BUT I did paint some FOUR FOOT TALL lawn letters for one! The super nice ladies of Ioma Gamma Upsilon at U-Mass Amherst contacted me to customize their new letters and I couldn't wait. It's probably the most unique (read: weirdest) request I've had to date so I was obviously all about it.
Ioma Gamma Upsilon's colors are ultramarine & green and they wanted an all-over floral print on the letters. I created a custom light teal color for the background and then did a simple white, blue & green design over the entire surface. I also sealed the letters with a matte clear coat so that they wouldn't have a glare during photo shoots but would be resistant to beer-bong mishaps. (Or is that just in fraternities? ...Either way.)
Now, before you tell me how great my all-over design is, because I can tell you're dying to...I have a confession...this is actually my best-friend Liz's design. It's what happens when she's distracted and doodling. These awesome little flowers and swirls just pour out of her pen...and then I snatch them up and make them life size on huge letters. That's what friends are for, right?? Thanks Liz!!
Sadie's all ready to pledge. Get this girl a paddle!
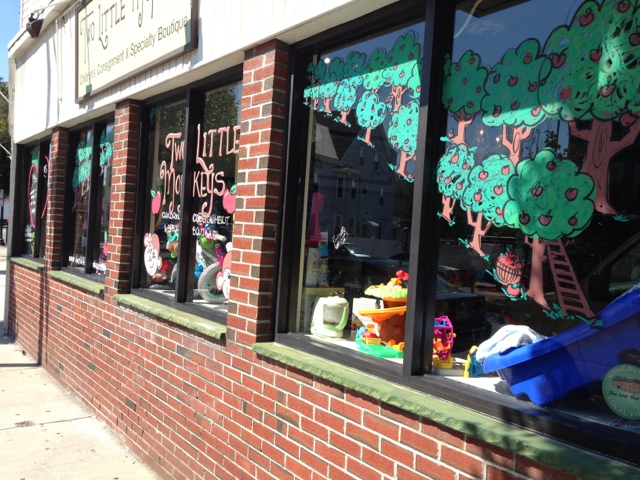
New September Window Painting at Two Little Monkeys
Two Little Monkeys is at 77 Bow Street in Somerville.
Go check 'em out and tell them Mandee sent you!!

Semi-Girly Owl Triptych
Some girly owls in response to the below owls painted for a little boy's room. They're a little softer and a little pinker but still the same idea.
You can see the link to them on my Etsy shop here.
Putting the "Grill" in Grillo's
Well, the end of August is here and Sam the Pickle Man knows what that means...it's time to grill!!
Labor Day is the second most popular BBQ day in the United States coming in only slightly after the 4th of July in popularity. (I made all that up.) And it's right around the corner!
It's time for one last hurrah with your friends before the days get shorter and the nights turn chilly.
Head over to Grillo's Pickles in Inman Square in Somerville to get some pickles for your Labor Day BBQ and make sure to tell them Mandee sent you!
(Not because you'll get a discount but because I want them to think I'm sooooooo cool.)
Happy Grilling!!
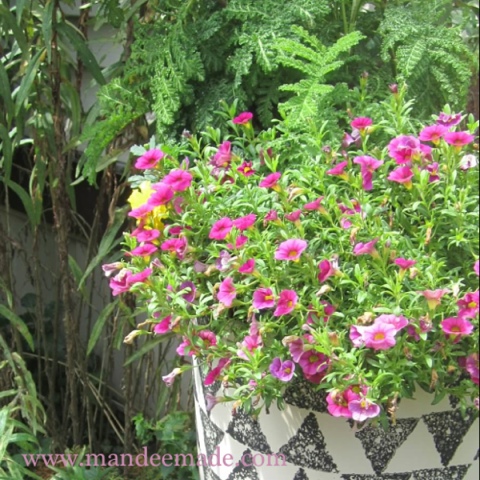
Geometrical Block Printed Planter Makeover
And the best part of this project? It was completely free!
It was super easy (and free!) and would make a great weekend project.
It took me about 4 hours start-to-finish including the time it took the paint to dry.
Here's how I made it...for FREE! (Did I mention this project didn't cost me anything?)
- I took an old banged up pot that wasn't being used and gave it a good scrubbin'.
- Then I sprayed the inside of the pot red with some paint I had on-hand; spray the inside first because there may be some over-spray
- Then I primed the outside of the pot white and covered the over-spray
- After that I gave the whole thing a coat of Cream colored paint and let it dry.
Cost so far: $0.00
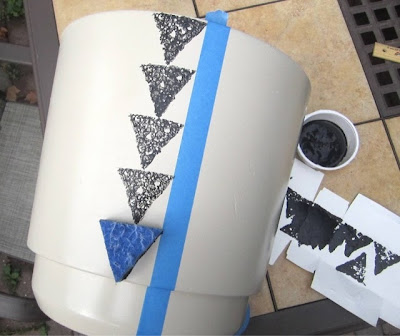
While the paint was drying I made the stamp.
- To make the stamp you'll need an old sponge, scissors, a Sharpie & a ruler
- I used the ruler to measure out a 2" x 2" x 2" triangle
- and drew it on the sponge with my marker
- Then I cut along the lines and now I have my stamp...and it's still FREEEEE!
Now you should test your stamp to experiment with how much paint to use,
how hard to press down on it and to decide on the pattern you're going to use.
I used a piece of blue painter's tape to create a line to follow while I stamped.
This helped a little bit but it would be ok without it also.
I continued to stamp all the way around the planter,
moving my piece of tape to the next row as the paint dried.
Then I removed the tape and I had a perfectly printed, perfectly d.i.y.'d,
perfectly FREE brand spankin' new planter! And, I can't remember if
I told you this or not yet but it didn't cost me a thing!!
Rit Rooooo!! (that's a whistle noise)

I'd love to see your pictures if you decide to make one of your own.
Thanks for stopping by. Have a wonderful weekend!
